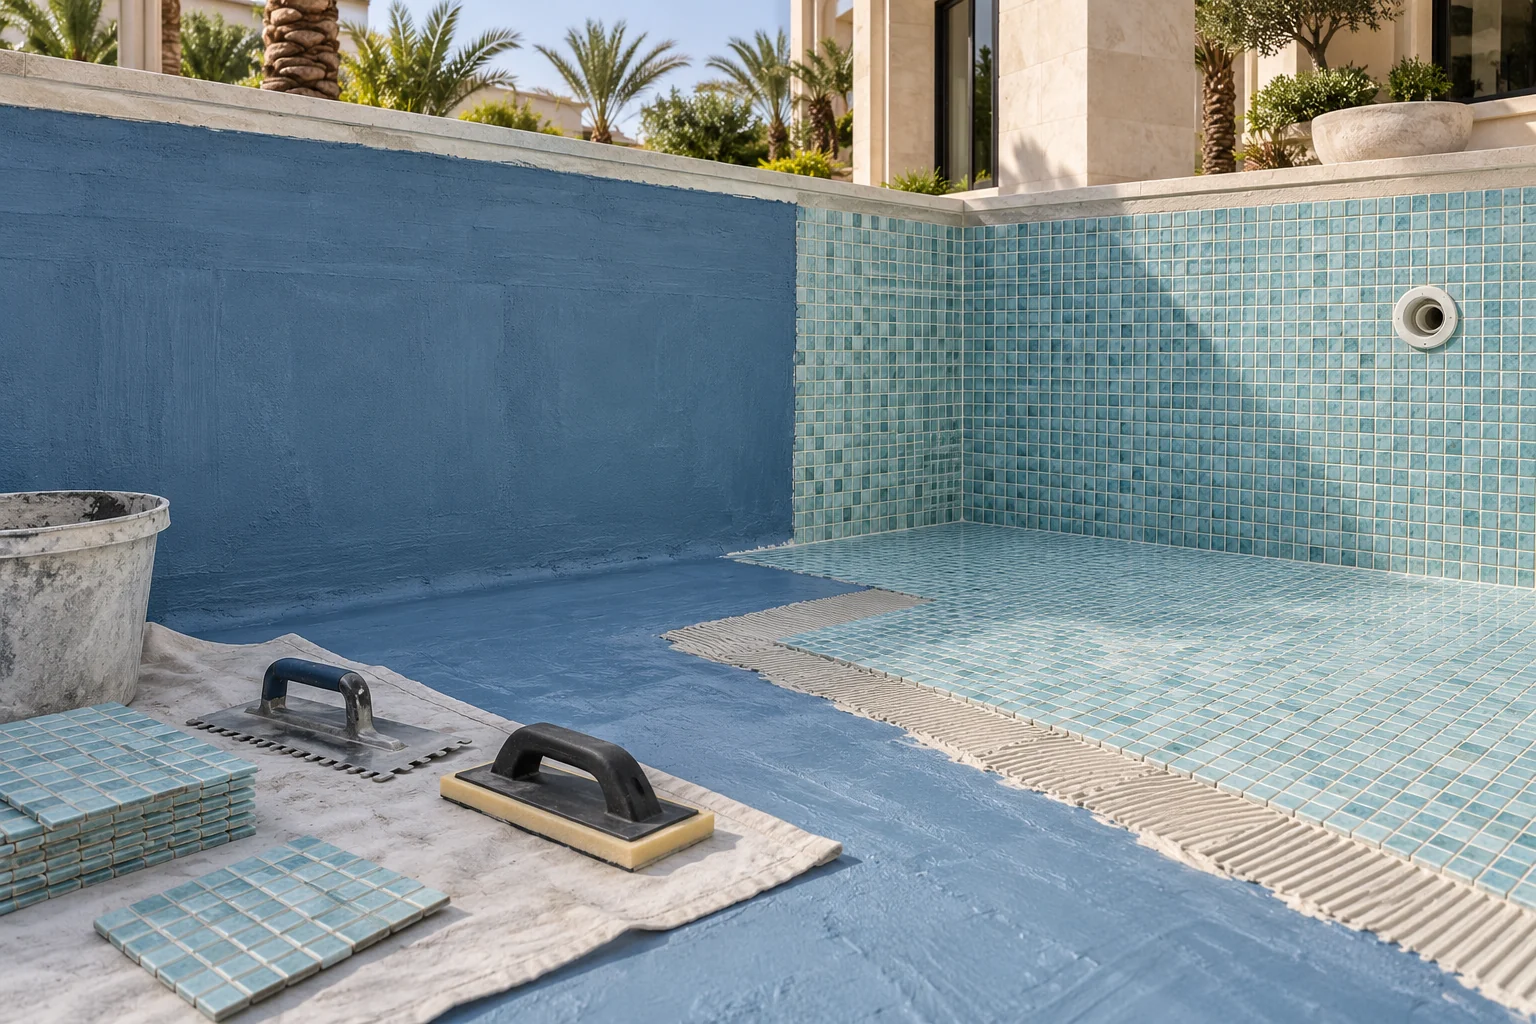
Approve pool finishes as a coordinated set, not as isolated showroom pieces. Compare their appearance under relevant light and water conditions, connect every sample to an exact product record, and ask the appointed specialists to confirm how the complete installation system will be specified before orders are released.
Start with the water colour and garden together
A pool finish is seen through water and beside the villa, terrace and planting. Begin by describing the overall result you want: a pale, bright pool; a deeper blue; a natural stone character; or a restrained surface that lets the architecture lead. Then compare that direction with the actual garden rather than judging a small sample under showroom lighting.
PebbleTec’s current water-colour guidance explains that finish colour is only part of the visible result. It also identifies depth, sunlight and surrounding landscaping as influences, and warns that samples and photographs can differ from the installed appearance. That is product-specific manufacturer guidance, not a promise about another finish. It is a useful reason to record the assumptions behind every visual reference.
Build one finish schedule before collecting samples
List every visible selection: pool interior, waterline tile, step or feature detail, grout, coping, terrace and any channel cover. Give each an exact location. A general note such as blue mosaic and beige stone leaves too much unresolved, especially when several suppliers or contractors are involved.
Add the manufacturer or supplier, product name, reference, nominal size, colour, surface description and approved sample ID. Record who supplies and installs it, and who confirms suitability for the intended location. The schedule does not replace specialist design; it ensures the design, quotation, purchase order and site team are discussing the same materials.
Use three levels of visual evidence
A useful review moves from a small physical sample to a coordinated sample board and, where justified, a representative project mock-up. Each answers a different question. The loose sample shows the material itself. The board shows relationships. The mock-up can reveal scale, joints and edge transitions before the entire pool is committed.
Ask what each sample can and cannot prove. Natural aggregates, stone and fired products may show variation beyond one piece. A dry sample does not reproduce the appearance below water. A mock-up made on a different substrate or with an unconfirmed grout is not a faithful preview of the proposed assembly. Label limitations rather than allowing a sample to create false certainty.
Swipe or scroll horizontally to compare all columns.
| Review level | Decision it supports | Record to keep |
|---|---|---|
| Individual samples | Shortlist colour, texture and product family | Exact product references and photographs under agreed lighting |
| Coordinated sample board | Compare interior, waterline, grout, coping and terrace together | Dated board or annotated image with every component identified |
| Representative mock-up | Review joints, cuts, transitions, workmanship expectation and variation | Accepted mock-up scope, location, date and written comments |
Review colour at more than one moment
Dubai daylight can make a finish look very different from the same material in shade or under evening lighting. View the coordinated samples near the proposed pool during the times that matter to your household. Keep the samples oriented as intended where possible; a horizontal coping piece and a vertical waterline tile can catch light differently.
Do not demand that a small dry sample reproduce an exact future water colour. Instead, use it to compare options consistently. Look at several identified reference pools for the exact finish where the supplier can provide them, noting differences in depth and surroundings. Record the preferred range of character rather than selecting from one highly edited image.
Connect the visible choice to the complete system
LATICRETE’s swimming-pool technical design manual treats a tiled pool as a coordinated installation involving the substrate, preparation, waterproofing, tile or stone, bonding materials and joints. Its details apply to its systems and must be interpreted by appropriate specialists. The homeowner’s useful question is whether the visible product has been reviewed as part of the proposed complete assembly.
Ask the appointed team to identify the specification and the responsible party for compatibility. A tile sample alone cannot establish what sits behind it, what preparation is required or when the pool can be filled. Avoid mixing isolated recommendations from different brochures. Request one coordinated proposal, with any supplier conditions and inspection stages made visible before finishes conceal the work.
Ask for variation to be shown, not described away
For a variable material, review several pieces or sheets rather than the most uniform one. Ask how batches are identified, how the delivered range will be checked and whether the intended layout requires blending. If the design depends on very tight colour uniformity, make that expectation explicit and confirm whether the chosen product can reasonably provide it.
Grout and joints affect the completed pattern. Review a representative grout colour beside the actual tile, and ask for the proposed joint appearance to be shown in the mock-up. Include corners, steps and fittings where those details are visually important. A perfect centre panel can distract from unresolved cuts at the places you will notice every day.
Separate approval, ordering and site acceptance
Material approval authorises a defined selection; it should not silently authorise any visually similar alternative. Before ordering, confirm availability, quantities, batch considerations, lead-time assumptions and the process for approving a substitution. Keep optional upgrades distinct so a revised choice does not obscure the agreed baseline.
When materials arrive, the responsible team should check them against the accepted record before widespread installation. The homeowner does not need to direct technical inspections, but should know who confirms the delivery and what happens if it differs. Retain the accepted sample or a traceable reference until the work and any agreed completion review are finished.
Use this finish-approval checklist
Bring the checklist to the final material meeting. Mark an item open when evidence is missing rather than filling the gap with an assumption. The selected specialists remain responsible for technical suitability and installation requirements.
- Is every visible pool, waterline, coping and terrace material named on one current schedule?
- Have the exact samples been reviewed near the proposed pool in relevant daylight and shade?
- Are product variation, water-depth effects and photographic limitations understood?
- Does the sample board show the proposed grout, joints and main transitions?
- Has the appointed team confirmed the complete installation specification and responsibilities?
- Is any project mock-up defined clearly enough to become a useful approval reference?
- Are ordering, batch review, substitutions and delivery checks documented?
- Will the final handover identify installed products, care guidance and support contacts?
Turn the approved palette into a renovation record
After the meeting, issue or request a dated finish schedule that includes decisions, open questions and the latest sample references. Link it to the current renovation proposal or drawing revision. If investigation changes the pool construction before finishes are ordered, ask whether the affected selection or detail needs another review.
For a first Veyrune conversation, share photographs of the existing pool, the parts you want to retain, and two or three finish directions you like. The next step is not an instant colour promise. It is a coordinated renovation brief that separates condition assessment, construction scope, appearance and ownership information.
Frequently asked questions
01Can I choose a pool finish from an online photograph?
Use online photographs to narrow the direction, not as the final approval. Water depth, sunlight, shade, surrounding materials, photography and screen settings can change how a finish appears. Review identified physical samples, several completed reference images for the exact product where available, and a project-specific sample arrangement before authorising an order.
02Do the waterline tile and pool interior need to match?
They do not need to be identical, but they should be reviewed together with the coping and terrace. Compare undertone, scale, joint colour and the visual line around the pool. Ask the team to show how the chosen products meet at steps, corners and the waterline, and to confirm that each exact product suits its intended location.
03Who should approve a substituted pool material?
The contract and project roles should identify the decision maker. As a practical rule, do not accept an informal site substitution simply because it appears similar. Request the exact replacement reference, reason, visual sample, supplier information and any effect on the coordinated installation, price, programme, care or warranty before written approval.
Sources and further reading
PebbleTec: water-colour selection, depth, light and surrounding influences ↗Checked Wednesday, 30 September 2026LATICRETE: tiled swimming pools, fountains and spas technical design manual ↗Checked Wednesday, 30 September 2026Confirm current requirements for your property and selected equipment. Product examples do not imply a supplier relationship or local availability.
This is an editorial planning guide, not a property survey, approved design or installation specification. Project requirements are confirmed by the appointed specialists.
Let’s bring it back to your home.
Explore the complete service and share a first brief for your property.
Major pool renovations in Dubai